
Your home's siding plays a crucial role in protecting your home from the elements, so it's important to keep it in good condition. Over time, siding can become damaged or worn down, which can not only impact the aesthetic appeal of your home but also compromise its structural integrity. In this ultimate guide, we will provide you with valuable tips on how to properly repair and maintain your siding to keep your home looking beautiful and well-protected.
Identify the Damage
The first step in any siding repair project is to identify the areas that need attention. Take a thorough look at your siding and look for signs of damage such as cracks, holes, rot, mold, or loose panels. These issues can arise due to various factors including weather conditions, insects, or simply the aging process. Make a note of the specific areas that need repair and take measurements, as this will be helpful when purchasing replacement materials.
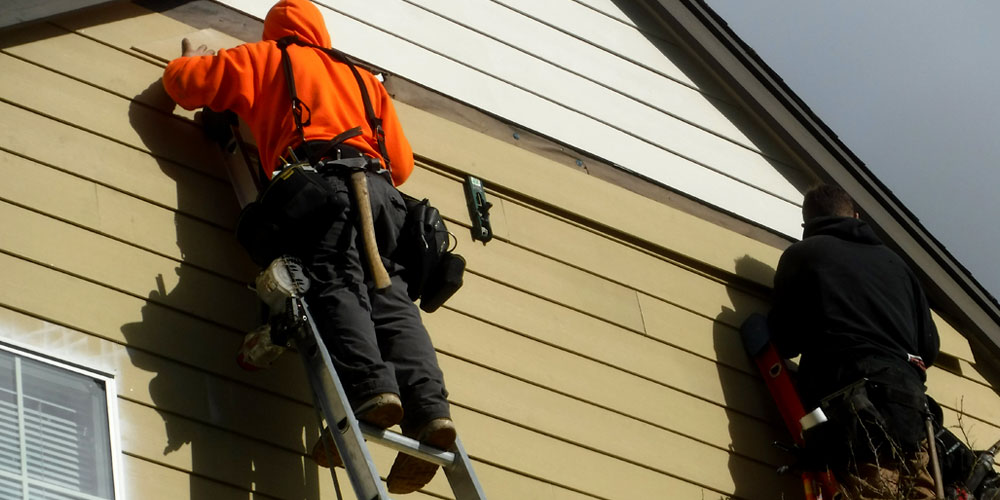
Image source: Google
Gather the Necessary Tools and Materials
Before you start your siding repair project, ensure that you have all the necessary tools and materials. Common tools include a pry bar, hammer, utility knife, caulking gun, and a saw. As for materials, you will typically need replacement siding, nails, caulk, and paint or stain, depending on your siding type. It's important to choose materials that match the existing siding to maintain a cohesive look.
Repair or Replace
Once you have identified the areas that need repair, you may need to decide whether to repair or replace the damaged siding. Small cracks or holes can often be repaired using caulk or small patches, but more extensive damage may require complete replacement. When replacing siding, ensure that you remove the damaged panels carefully to avoid causing further damage. If you're unsure about the extent of the damage or how to proceed, it's always best to consult a professional.
Clean and Prep the Area
Before making any repairs or installing new siding, it's essential to clean and prep the area. Remove any dirt, debris, or loose paint from the surface using a pressure washer or a scrub brush. This will provide a clean and smooth surface, ensuring that the repairs adhere properly and the new siding sits flush with the rest of the wall. After cleaning, allow the surface to dry completely before moving forward.
Make the Necessary Repairs
Once the area is prepped, you can begin making the necessary repairs. Apply caulk to any cracks or holes, smoothing it out with a putty knife. If there are any loose panels, secure them back into place using nails or screws. For larger repairs or replacements, follow the manufacturer's instructions and use the appropriate tools. Take your time to ensure that the repairs are done correctly for long-lasting results.
