
Installing a wall mount basketball hoop can be a great addition to any home, whether you’re looking to practice your NBA moves or just having some fun with friends. But before you start drilling holes in your wall, there are a few important tips to bear in mind when installing a 48″ To 72″ Indoor Basketball Hoop.
Choose the Right Place
The first step is to choose the right place to mount the hoop. You’ll want to make sure the hoop is at a comfortable height for everyone playing, and you’ll also want to avoid any pipes, wires, or other obstacles. You’ll also want to make sure the hoop is securely mounted to the wall, and that the wall isn’t too weak to support the weight of the hoop.
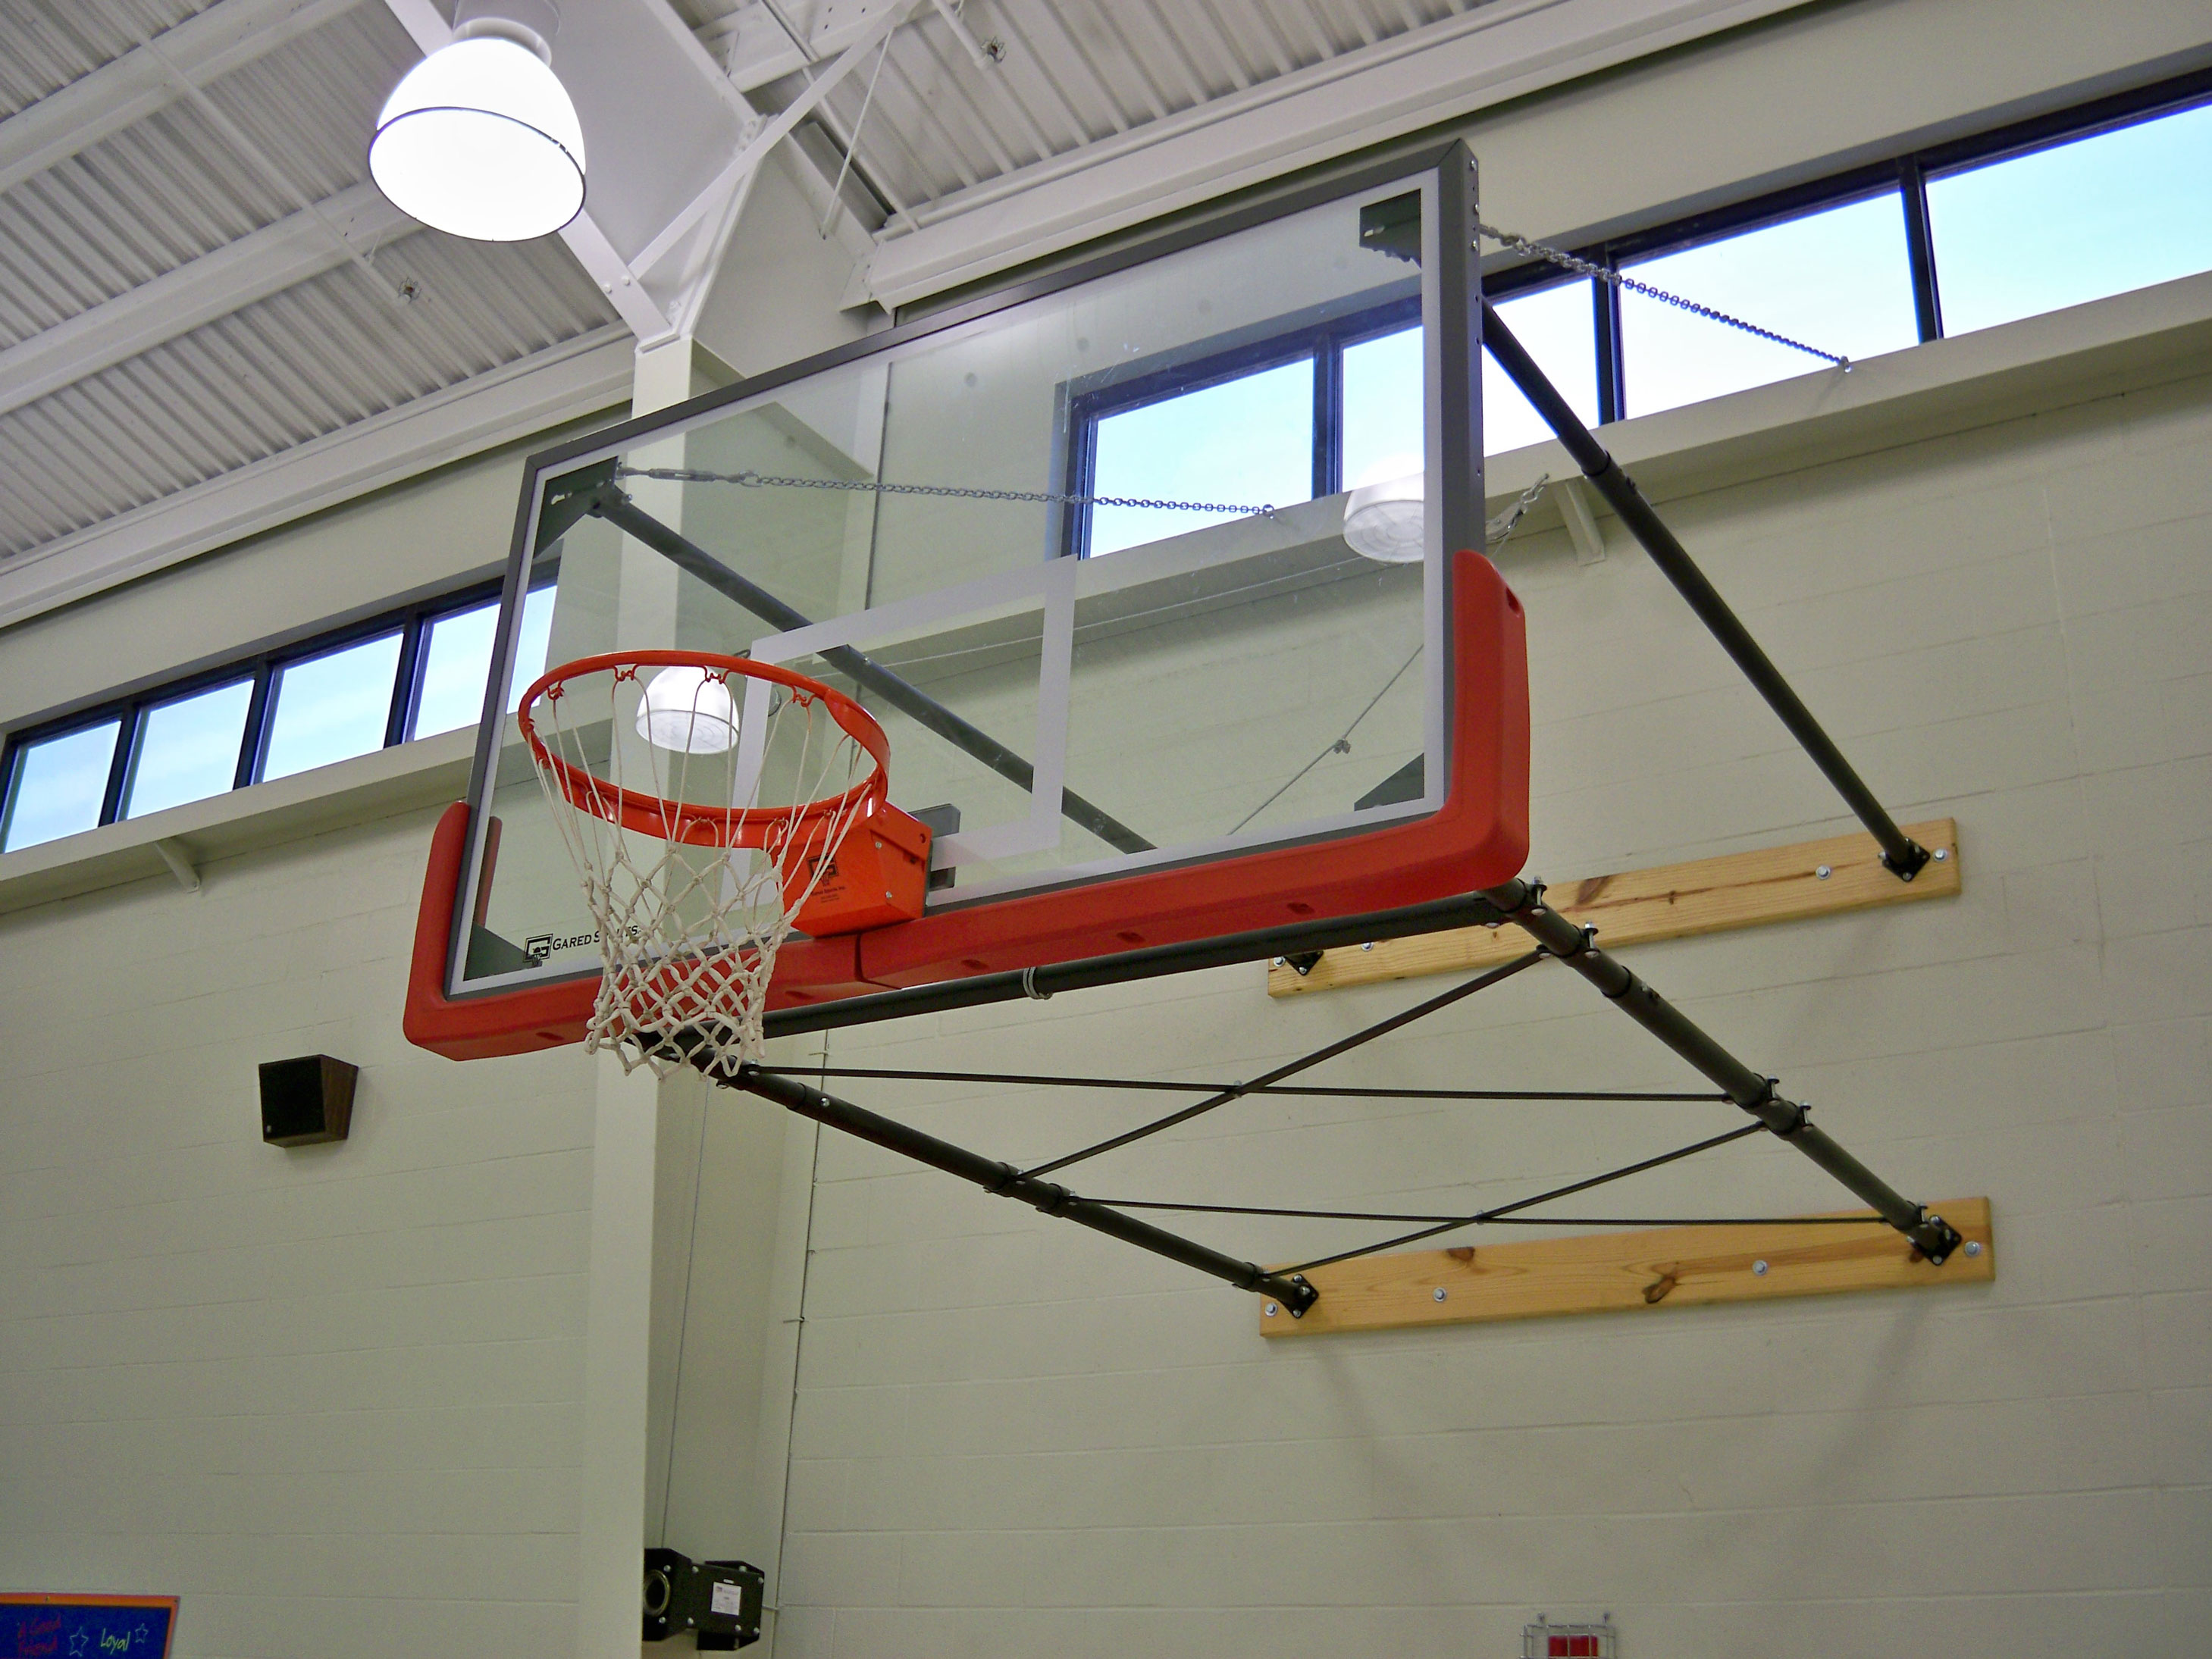
Image Source: Google
Choose the Right Wall Material
Different wall materials will require different installation methods. For instance, concrete or brick walls will require a drill and concrete anchors, while wood or drywall may require a drill and lag screws. You’ll also want to make sure you use the correct type of screws for the material you’re working with.
Measure Twice, Drill Once
Before you start drilling, it’s important to measure twice and drill once. If the holes aren’t properly aligned, it could lead to an unstable hoop. It’s also important to make sure the holes are not too close together, as this could affect the stability of the hoop.
Use a Level
You’ll also want to use a level to make sure the hoop is level when you’re installing it. This is important to ensure that the hoop is safe and stable. To do this, simply place the level on top of the hoop and make sure it’s level before drilling.
